Scheduled forecasts and Google Data Studio
Because Forecast Forge works as part of Google Sheets you can include Forecast Forge forecasts in your Data Studio reports. And with addons like the official Google Analytics spreadsheet addon you can schedule these reports to update and run automatically.
Here’s how it works
First you will need to get setup with the Google Analytics spreadsheet addon. You can do this easily be following the instructions.
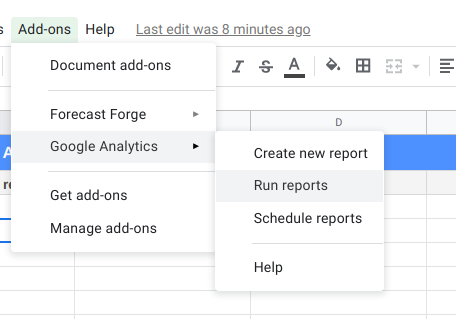
Once you have the addon installed you can create a report in the sidebar:
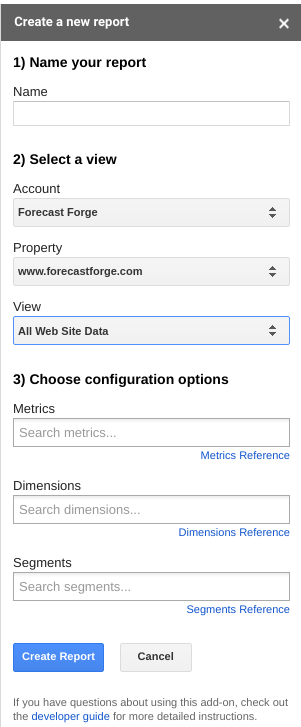
For Forecast Forge you must have date as a dimension. If you add other
dimensions you’ll have to do some funky spreadsheet wizardry to get everything
formatted correctly but I’m sure that is possible.
Once you’ve created the report the addon will create a new sheet called “Report Configuration” in your spreadsheet that looks a bit like this:
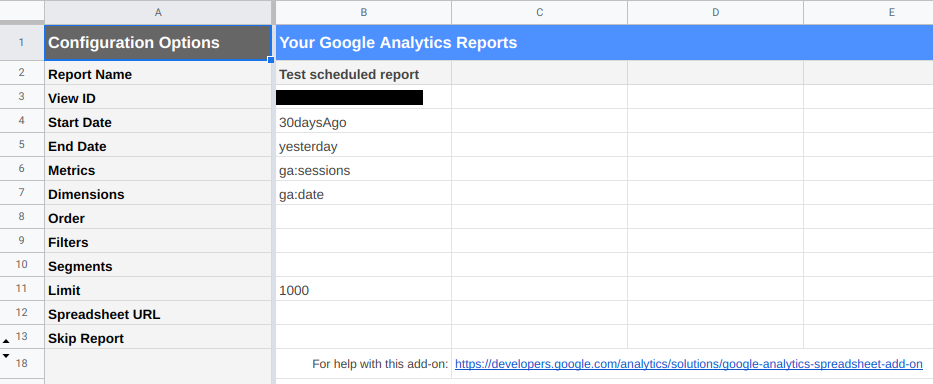
There are a few edits you will probably want to make to this sheet:
- The start date
- The number of rows returned
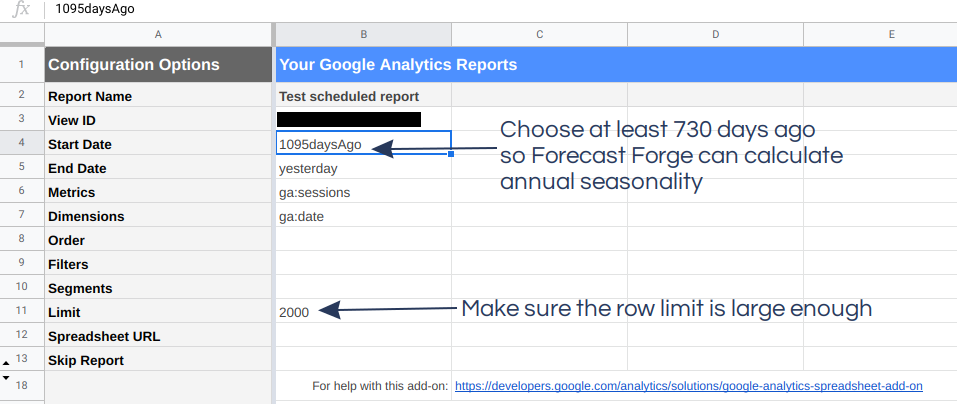
The start date can be a specific date (e.g. 2020-01-01) or NdaysAgo where
N is a positive integer. You can also use Sheets formula to configure the date
if you want (e.g. =EOMONTH(TODAY(), -1)).
Using a fixed start date vs. a variable start date changes how the forecast can be used. I’ll start by showing you a variable start date example in this tutorial.
When you have finished the configuration, click “Run Report” in the menu to pull the data into Google Sheets.
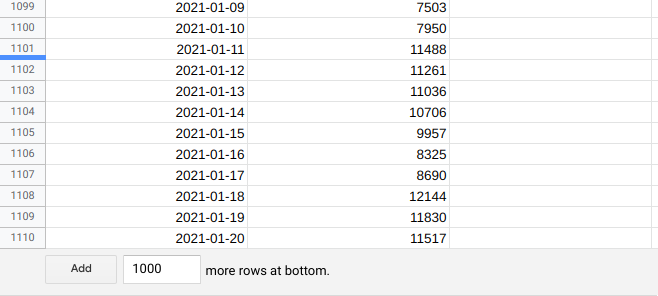
The addon will create another new sheet and you should see it populated with some lovely Google Analytics data.
If you scroll to the bottom of the sheet you will notice that the date fills the sheet right to the end.
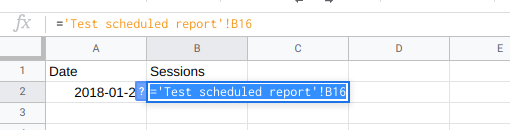
To keep things clean and separate I prefer to make the forecast in a separate sheet.
Because the Google Analytics data will always contain the same number of days (this will get a lot more complicated if you add other dimensions!) it is easy to pull the dates and metrics into another sheet:
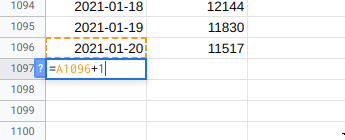
Then extend the dates column into the future for as many days as you want to forecasts:
Then make your forecast. For the scheduled updates to work you must use the custom functions for this rather than the sidebar. I suggest you follow my forecasting workflow to figure out what makes the best forecast for your data and then implement it using the custom functions.
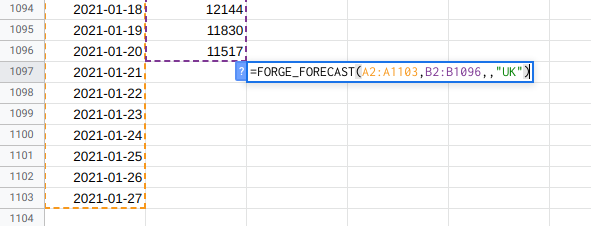
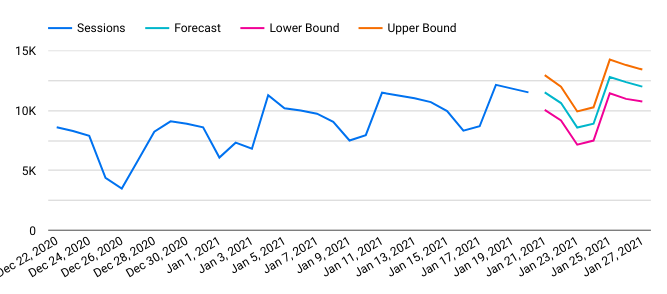
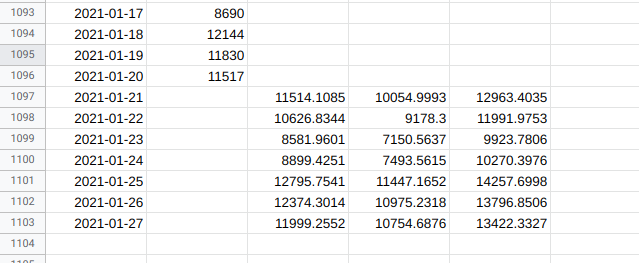
When the forecast has run it should look something like this:
Label the forecast columns in row 1 if you are later going to import this into Data Studio.
Next setup the scheduled update:

Running hourly won’t help you very much but you can select daily, weekly or monthly for automatic updates.
Import into Data Studio
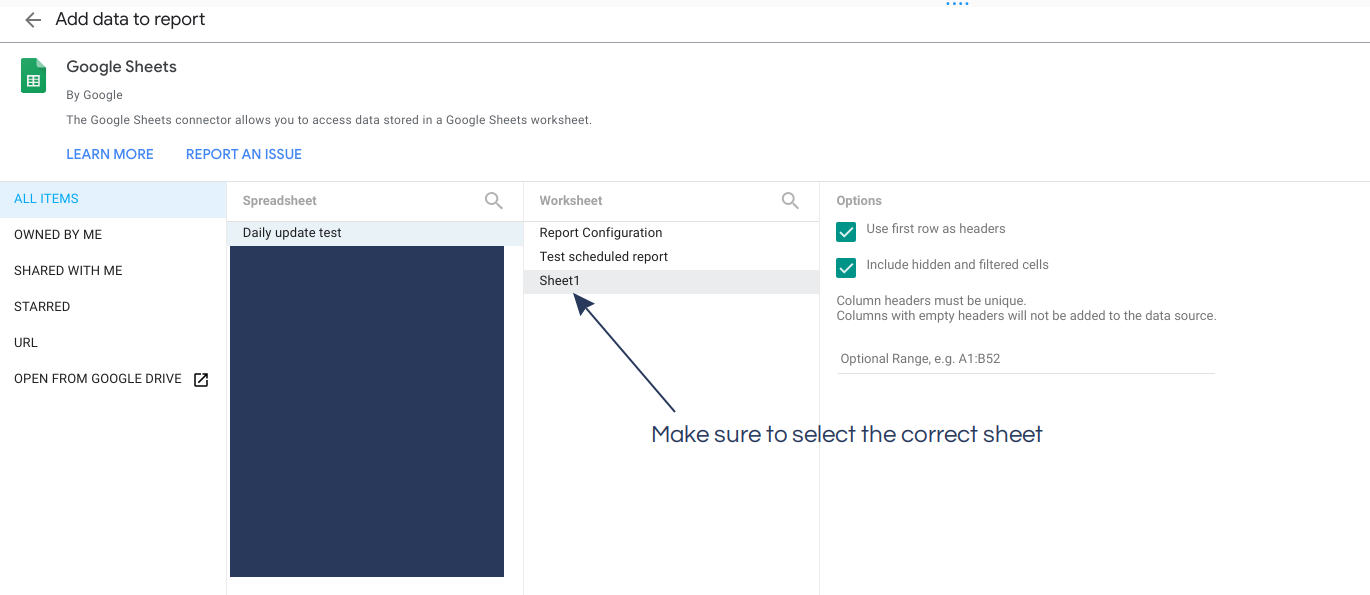
In Data Studio you need to setup your Google Sheet as a new data source:
And then add the columns from the sheets as metrics for display:
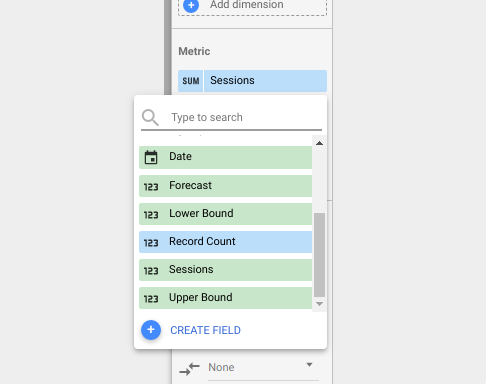
Make sure you add the metric (in this case Sessions) and the forecast
(Forecast). You can add the upper and lower bounds too if you want them
included in your report.
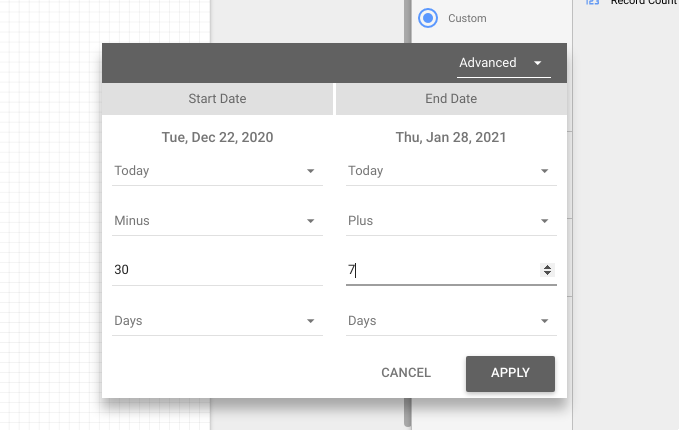
I like to restrict the date range of the Data Studio report so that the viewer doesn’t have to see all the training data; they can just see the most relevant parts. Remember to extend this date range into the future to include the forecast.
Using this you will be able to produce tables and charts that contain both historical data and the forecast from your Google Sheet. These will update when the Google Sheet updates on the schedule you specified earlier.